
How to Create Custom Global Footer in Divi.
In pervious tutorial we discussed how to create Custom Global Header in Divi Theme Builder. In this tutorial we will learn How to Create Custom Global Footer in Divi. We will build Global Footer by changing the Default Footer Template of Divi Theme Builder. This Blog will be helpful to those who want to know how to change Default Template of Divi Theme Builder.

In this tutorial we will build 2 Rows. 1st Row will have 3 columns which consist of content listed below.
1.Navigation Menu with website Logo (1st Column)
3. About Us & Social Media Icon (3rd Column)
If you want to learn How to Add Social Media Icon or Navigation Menu Along with Logo as a part then click on the above link to navigate to particular section to save your time.
2nd Row will only have 1 column where we will insert copyright content.
Startup.
Step 1:- Login to WordPress Dashboard & navigate to “Divi – > Divi Theme Builder”

“Add Global Footer->Build Global Footer”.


Navigation Menu with Website Logo(1st Column)
Step 1 :- Click on “+” icon in 1st column & insert Menu module from the list

Contact Info (2nd Column)
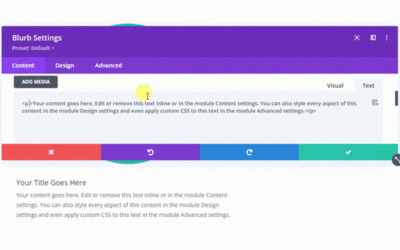
Step 1 :- To display contact information we will create 3 Blurb module. Create first blurb module for location.


About Us & Social Media Icon (3rd Column)
Step 1 :- Create Text module & Add H3 title and design the module as shown below. Just remember that keep text color contras as per background to make it visible properly.

Copyright Content Section
Step 1:- Insert a row along with a text module in it. After that insert the copyright content along with hyperlinks & design it as shown below.


0 Comments
Trackbacks/Pingbacks